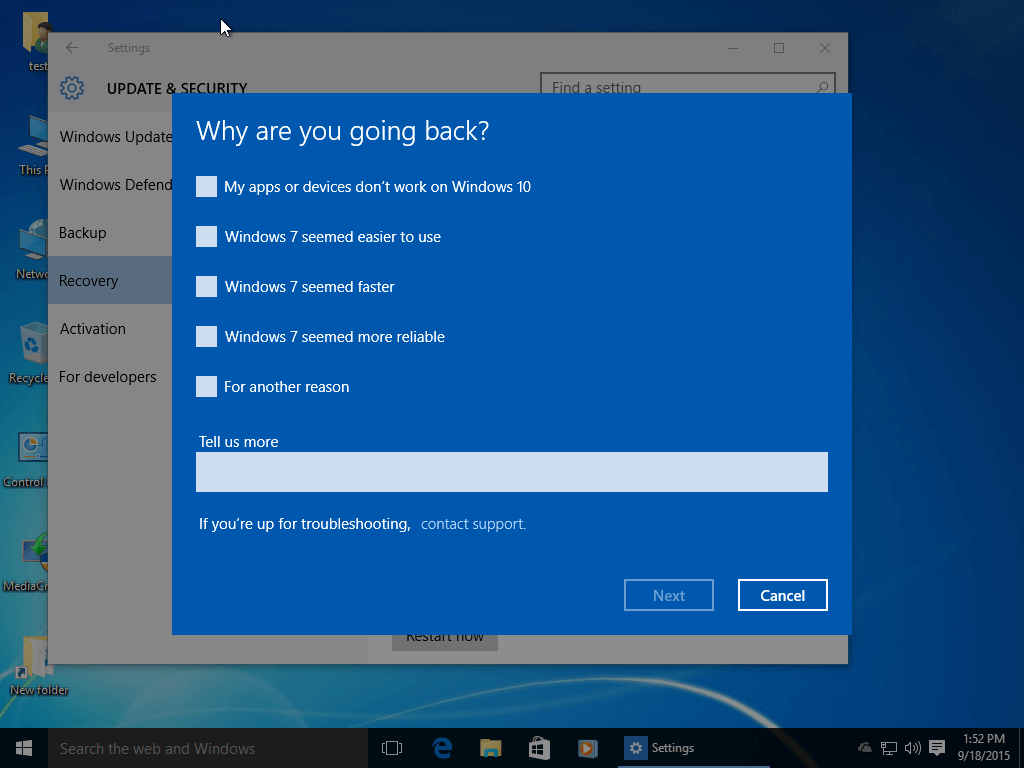
If you are not satisfied with Windows 10 and prefer an earlier version, you can downgrade to either Windows 7 or Windows 8. However, this option is available only if you have not performed a clean install or reset your system.
Follow the steps below to downgrade from Windows 10 to a previous version:
To Start the Windows 10 Downgrade Process:
- Click the Start button and then select Settings.
- In the newly opened window, click Update & Security.
- Click on Recovery in the left sidebar.
- Under Go back to Windows 7, click Get Started.
- In the Why are you going back? section, select or describe your reason for downgrading, then click Next three times in the following windows.
- Finally, click Go back to Windows 7 to confirm your choice.
- Your computer will restart, and the downgrade process will begin, transitioning from Windows 10 to Windows 7.
If you want to downgrade to Windows 8, follow the same procedure, but choose the appropriate option for Windows 8 instead of Windows 7.
Important Considerations:
- This downgrade process only works if you have not reset your PC or performed a clean installation of Windows 10. If you have already done so, you may need to manually reinstall your previous version of Windows.
- Ensure you have backed up your important files before starting the downgrade process, as some personal data might be affected during the transition.
- Downgrading to an older version should be done only if you are sure it’s necessary. Newer versions of Windows often provide enhanced security, features, and support.
Consider your needs carefully before downgrading. Windows 10 offers many benefits, including improved security and compatibility with modern software. If you’re downgrading due to compatibility issues, check if updates or alternative solutions might resolve those before switching back to an older version.
