Applies to XP, 7, 8, 10. Sometimes it is necessary to uninstall the driver in Windows because the installed driver may be incorrect or damaged. But in cases where the driver is incompatible, driver files have to be deleted as well.
If you want to uninstall the driver, you have to delete his files to prevent the automatic installation of the same driver.
The standard method of uninstalling and deleting driver files in Windows 7.
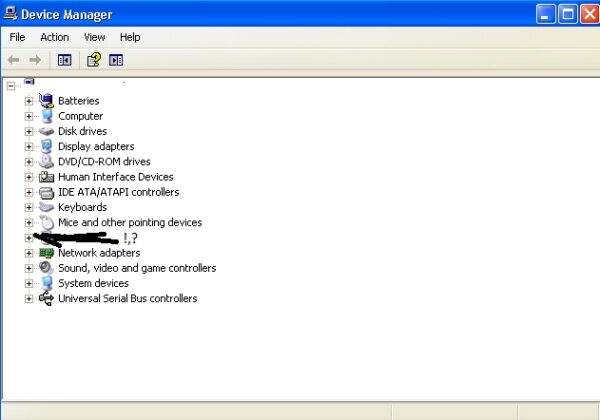
- Go to Device Manager.
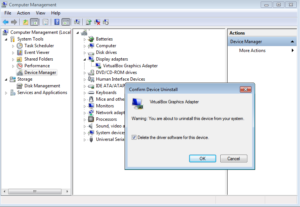
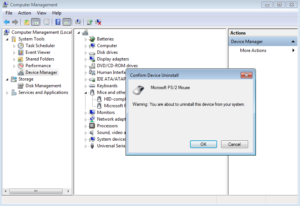
- Right click on driver you want to uninstall.
- Click “Uninstall“
- Select “Delete the driver software for this device”.
- Click OK
However, in some cases you can not find the “Delete the driver software for this device”
option.
If the option to “Delete the driver software for this device” is hidden then continue in this way.
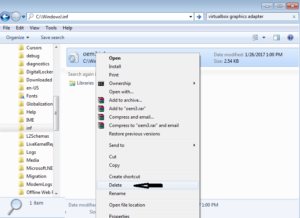
- Go to C:\Windows\Inf.
- In Search type the name of the driver you want to uninstall. Be careful in this step. Enter the correct driver name.
- Delete the file founded from search.
- Now, go to Device Manager and uninstall the driver.
In some cases, the requested file may not be found due to the configuration of the search.
If your search did not find the driver file in C:\Windows\Inf try editing the search configuration.
- Click Start on menu icon.
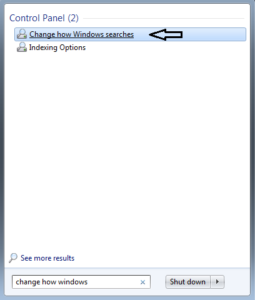
- Type: “Change how Windows searches”, then click the link that apears on the top of start menu.
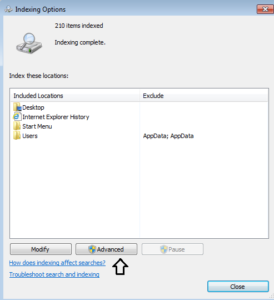
- Click Advanced.
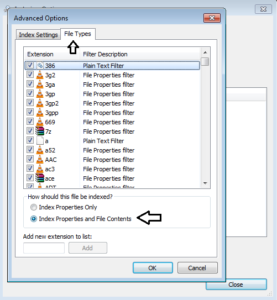
- Under Extension select .inf or select all extensions.
- Change option from Index Properties Only to Index Properties an File Contents.
- Click OK. (This can slow your computer a bit, so it is recommended that you reset this option to default setting after deleting the file).
- Now, go to C:\Windows\Inf, serch for that driver file, delete, than uninstall wrong driver.

