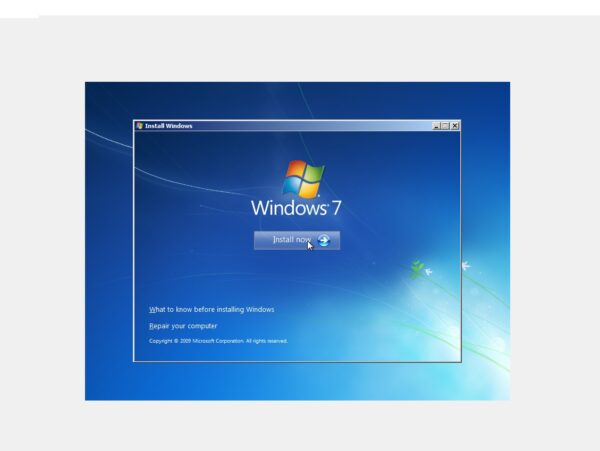
Installing a clean copy of Windows 7 can greatly improve system performance and eliminate software issues. This guide will walk you through the essential preparation steps, installation process, and post-installation tasks.
Steps to Install a Clean Copy of Windows 7
Before Installation
- Backup your important files.
- Create a separate partition for backup (if needed).
- Backup device drivers using free tools.
- Find and save your Windows 7 product key.
- Configure BIOS to boot from CD/DVD or USB.
1. Backup Your Data
Make sure your personal files, drivers, and product keys are saved safely. You can use an external hard drive or create a new partition on your main drive (e.g., D:).
How to Create a New Partition
- Right-click Computer and select Manage.
- Go to Disk Management.
- Right-click the C: drive and choose Shrink Volume.
- Specify how much space to shrink (e.g., 10000 MB for 10 GB).
- Once done, right-click the Unallocated space and choose New Simple Volume to create the new partition.
2. Backup Device Drivers
- Download Double Driver.
- Extract and run
.
dd.exe - Select Scan > All, then choose Backup.
- Save the backup to the new partition or an external drive.
3. Find Your Windows Product Key
The key is usually on a sticker on your device. If missing, use a tool like Magical Jelly Bean KeyFinder:
- Download and install the free version.
- Launch the tool to view your product key.
- Save it to a safe location.
4. Configure BIOS Boot Order
To install from a USB or DVD, your BIOS must boot from that device first. Restart your computer and enter BIOS setup (usually by pressing Del, F2, or F10 during boot). Then:
- Find the Boot Order section.
- Set USB or CD/DVD as the first boot device.
- Save and exit.
5. Install Windows 7
- Insert the installation DVD or USB drive.
- Restart your computer and boot from the media.
- Follow the on-screen setup (language, time, keyboard, etc.).
- Choose Custom (Advanced) installation.
- Delete old partitions if needed, create a new one for Windows, and begin installation.
During installation, your computer may restart several times. Press a key to boot only during the first restart.
6. After Installation
- Activate Windows using your product key.
- Install all required drivers (manually or using the backup).
- Run Windows Update for important security fixes.
- Create user accounts and personalize system settings.
Once completed, you’ll have a clean, working installation of Windows 7—stable and ready to use.

